
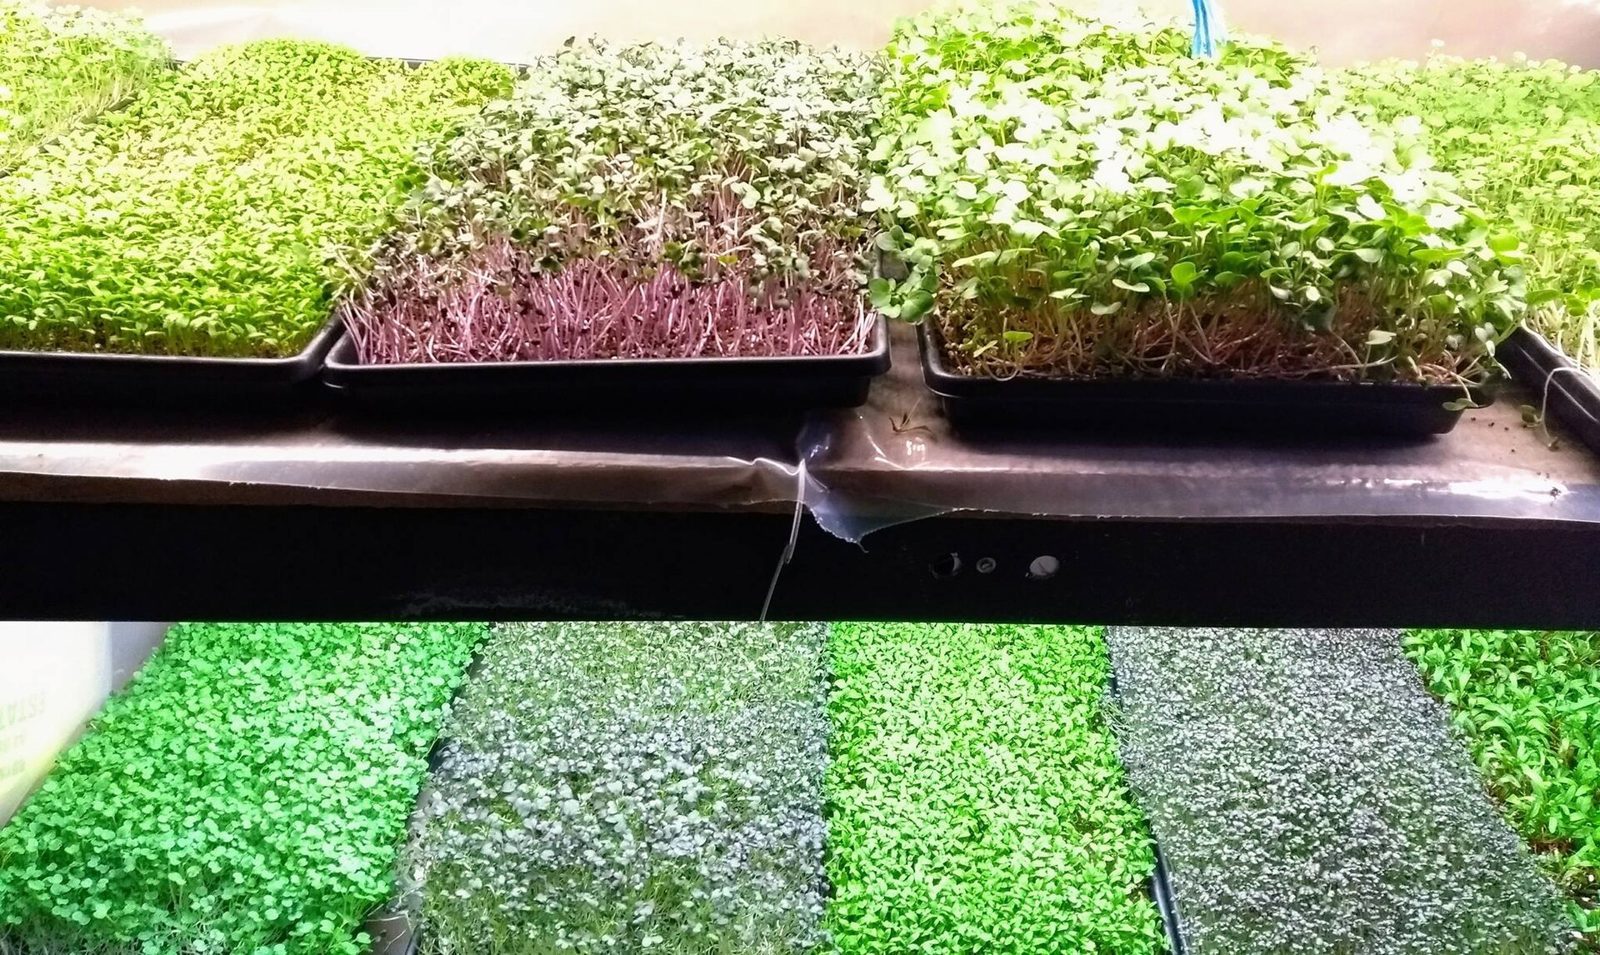
Microgreens are young vegetable and herb seedlings, harvested as single shoots with their seed leaves and often the first true leaves, cut at the base just above the growing medium. Penn State Extension describes the edible portion as “single shoots with the cotyledon leaves and/or the first true leaves,” and Clemson adds that they are usually between one and three inches tall. They grow fast, in 7 to 21 days, and they grow in a shallow tray, which is why they fit so well on a counter or windowsill. This page explains what the stage looks like, which plants are grown this way and how to get your first tray started.
The microgreen stage in plain language
A seed sends out a root and a pair of seed leaves, called cotyledons. Soon after, the first true leaves begin to form. Microgreens are cut at exactly this point. Clemson defines the term as small leafy vegetables “harvested just as true leaves begin to form,” and the University of Maryland Extension describes them as fast-growing, closely spaced vegetable seedlings harvested and eaten at the true leaf stage.
That one idea explains most of the practical points:
- Quick crop. Production can take as little as seven days and up to 21, depending on the variety and the environment (PSU, Cornell).
- Dense sowing. Seed is sown thickly, because seedlings are harvested before crowding becomes an issue (UMD).
- Small footprint. A shallow tray holds a full crop, so the space needed is a counter, shelf or sill.
- Cut once. The shoot is cut above the medium and the roots stay behind (PSU).
What you eat
You eat the above-ground shoot: stem, seed leaves and any first true leaves. Clemson says only the above-ground plant parts are consumed. That is part of what sets microgreens apart from sprouts, which are germinated in water and eaten whole; see microgreens vs sprouts for a side-by-side.
Which plants can be microgreens?
Many vegetables, herbs and grains are grown at the microgreen stage. Extension guides and tray charts name these frequently:
| Group | Examples | Typical days to harvest |
|---|---|---|
| Brassicas | Radish, broccoli, kale, red cabbage, arugula, mustard | 6 to 12 days, up to 15 for some |
| Legumes and seeds | Pea shoots, sunflower | 8 to 10 days |
| Herbs | Basil, cilantro | 12 to 28 days |
| Roots and greens | Beet, amaranth | 10 to 21 days |
Each of the varieties has its own character. Utah State describes the flavors as sweet pea for pea shoots, nutty and sweet for sunflower, nutty and spicy for radish, mild broccoli for broccoli, peppery for arugula and intense basil for basil. Red cabbage and purple radish add color, and a mixed tray looks as good as it tastes.
Some are quicker than others. Arugula can be cut in 6 to 8 days, while cilantro takes 21 to 28. A beginner who wants fast results can lean on the quick brassicas. UMD notes that basil and cilantro are slower growing, and that arugula and mustard handle less-than-ideal light.
How microgreens fit into a home garden
A tray is a complete garden in a shallow container. Penn State describes growing on 1020 greenhouse trays or 10- or 20-row seedling trays, and Utah State adds that pie tins and takeout trays also work. Because the cycle is so short, a single windowsill supports many harvests through the year, especially with a grow light or a bright window (UMD, OSU).
What microgreens look like when they are ready
Look for the first true leaves, or cut a little sooner. Utah State says plants “are ready to harvest as soon as you begin to see the first true leaves, or sooner.” Purdue puts most crops at 2 to 4 inches tall with true leaves just emerging. Pea shoots are the exception, harvested taller with two or more sets of true leaves. The harvesting guide covers the cut itself.
A positive note on nutrients
The USDA Agricultural Research Service tested 25 commercial microgreens and reported that, in general, they contained considerably higher levels of vitamins and carotenoids, about five times greater, than their mature plant counterparts. It is one more reason home growers enjoy having a tray ready to cut. Nutrient amounts for individual varieties are covered separately as they are sourced.
What it takes to grow them
You need a shallow tray with drainage holes, a lightweight medium, seed sold for microgreens, clean water and light. Penn State recommends using food-suitable, clean trays, and Clemson says to wash recycled containers with soap and water. After sowing, the tray goes dark for a few days (the blackout method), then into light from a bright window or grow light. Water from the bottom, and cut when the first true leaves show.
The pieces connect like this:
- Choose a growing medium or go without soil.
- Pick your light: a windowsill or grow lights.
- Water from the bottom (watering microgreens).
- Cut, then store what you will not eat the same day.
Start your first tray
The complete walkthrough is in how to grow microgreens, and growing microgreens at home sets out the supplies and a weekly rhythm. When you are ready to pick a sow date, the harvest planner gives you the cut date, and the seed calculator tells you how much seed a tray needs.
Oregon State suggests starting just enough for two people to eat and planting more every few days, so a small first tray is a good plan. A quick brassica such as radish or arugula, ready in about a week to ten days, is a satisfying first harvest.
Frequently asked questions
What are microgreens in simple terms?
Microgreens are young vegetable and herb seedlings cut at the base just above the growing medium, once the cotyledon leaves and often the first true leaves have opened (PSU). They are usually 1 to 3 inches tall (Clemson).
How long do microgreens take to grow?
Seeding to harvest takes as little as 7 days and up to 21 days, depending on the variety and the environment (PSU, Cornell).
What part of a microgreen do you eat?
The above-ground shoot. Microgreens are cut at the base just above the growing medium, and the roots stay behind (PSU, Clemson).
Which plants can be grown as microgreens?
Many vegetables, herbs and grains work. Common examples in extension guides include pea, sunflower, radish, broccoli, arugula, kale, basil, cilantro, beet and mustard (USU, UMD, Clemson).
Sources
- The ABCs of microgreens, Penn State Extension
- Growing microgreens, Clemson Home & Garden Information Center
- Growing microgreens and baby greens indoors, University of Maryland Extension
- Specialty greens pack a nutritional punch, USDA Agricultural Research Service
- Growing microgreens, Penn State Extension
- Grow microgreens at home, Purdue Extension