
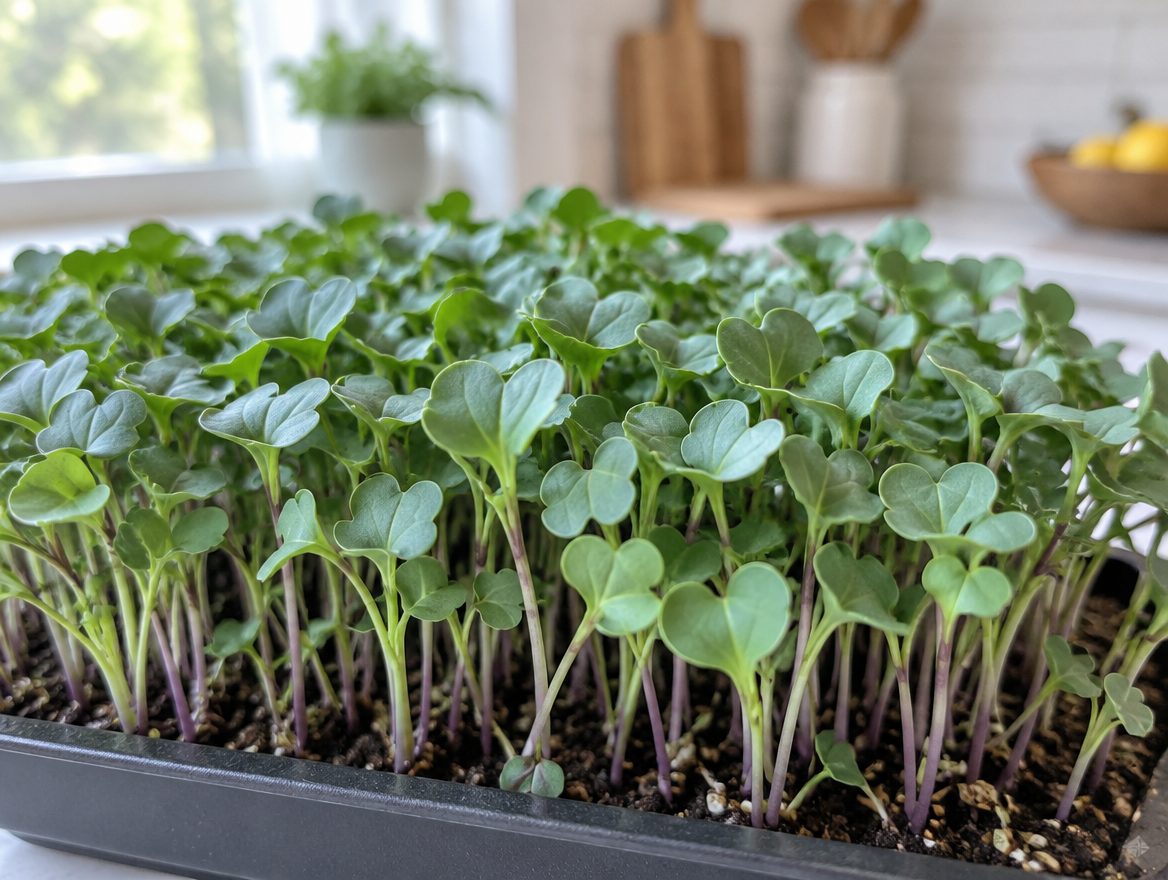
Harvest microgreens when the first true leaves show, or a little sooner, by cutting the stems just above the growing medium with clean, sharp scissors. Utah State Extension says: “Plants are ready to harvest as soon as you begin to see the first true leaves, or sooner.” Purdue Extension puts most crops at 2 to 4 inches tall with any true leaves just emerging. Penn State Extension adds that you cut the seedling stems and leave the roots behind. That is the whole routine, and most trays are ready in 7 to 21 days after sowing.
When to harvest
There are two signals, and they usually agree.
- First true leaves. Look for the first set of true leaves, which appear after the rounded seed leaves (USU).
- Height. Purdue says most crops, except pea shoots, are harvested at 2 to 4 inches tall. UMD describes 2 to 3 inches tall, 7 to 21 days after sowing. Clemson says one to three inches tall.
Pea shoots are the exception: Purdue says they are harvested taller, with two or more sets of true leaves. Sunflower has its own tip: Purdue says to harvest early, because sunflower turns bitter the longer it grows.
Days to harvest by variety
Utah State and other extension tables give a typical window, counting from sowing.
| Variety | Days to harvest | Source |
|---|---|---|
| Arugula | 6 to 8 | USU |
| Pea shoots | 8 to 10 | USU |
| Sunflower | 9 to 10 | USU |
| Radish, broccoli, kale | 8 to 12 | USU |
| Red cabbage, mustard, kohlrabi | 10 to 15 | MSU |
| Basil | 12 to 16 | USU |
| Cilantro | 21 to 28 | USU |
Set your sow date in the harvest planner to get the cut date, including the blackout days. Cut a little sooner rather than later if you are unsure; Utah State’s wording is “or sooner.”
How to cut
- Gather clean scissors or a sharp knife. Purdue and Penn State both list sharp scissors or knives.
- Cut just above the medium. Cut the seedling stems at the base right above the growing medium (PSU).
- Leave the roots behind. The roots stay in the medium and the tray is finished after the cut.
- Collect the shoots in a clean container. Keep them dry until you are ready to rinse and eat them.
- Store or serve. Use right away, or store cold and dark; see storing microgreens.
Which tool
Scissors are the favorite. Penn State growers at two large grower conventions reported that electric clippers and knives give a shorter post-harvest life than scissors. A small, sharp pair of kitchen scissors, washed beforehand, is all a home grower needs. Penn State also advises regular cleaning of high-contact items such as trays, clippers and containers, which keeps every harvest starting fresh.
Harvest at the right time of the cycle
A tray is at its best at the harvest point, and cutting at the right moment works well with your schedule:
- The covered days are part of the count. Radish, kale and arugula are covered 1 to 2 days; pea and sunflower 3; broccoli 2 to 4; basil 4 to 7; cilantro 7 to 14 (USU). See the blackout method.
- Penn State notes that production time depends on the environment and the variety, and UMD gives 70 to 75 F as the range for good growth.
One cut per tray
Treat each tray as a single harvest. Oregon State says microgreens do not regrow after cutting, and UMD says the seedlings will not regrow and suggests planting the next batch in fresh medium or a 50:50 mix of old and new. Clemson says to refill containers with fresh media and sow new seed. Penn State says new planting media for each cycle is the better start, even though media can be reused.
To keep fresh greens flowing, Oregon State suggests succession planting: start just enough for two people to eat, then plant more every few days. Two or three trays at different stages mean there is always a tray ready to cut. Growing microgreens at home lays out a weekly rhythm.
After the cut
If you will not eat everything the same day, cold and dark storage keeps microgreens fresh. Penn State reports that storing at 41 F in dark storage extends shelf life to 10 to 14 days, compared with 2 to 4 days at ambient conditions. Clemson says to store them in a clean plastic bag in the refrigerator. Penn State advises washing microgreens before eating them, and notes that washing before selling shortens post-harvest life, so rinse just before use. Full details are in storing microgreens.
A harvest-day routine
Pick a time when the tray is ready and the kitchen is quiet. Wash your hands and scissors, hold a small handful of stems, and cut in one clean snip just above the medium. Work across the tray in sections so the cuts are even. Put the cut shoots straight into a clean bag or container, and move the bag to the refrigerator if you are not eating them right away. Then wash the tray, refill it with fresh medium and sow again; the whole cycle takes a few minutes and starts the next harvest.
Make it easy next time
- Write the sow date on the tray, or log it in the harvest planner.
- Use the seed calculator to sow the same amount each time.
- Water from the bottom so the shoots stay dry for a clean cut (watering microgreens).
- Keep light consistent (grow lights for microgreens).
Where harvesting sits in the whole method
The harvest is the last of eight steps. See how to grow microgreens for the full sequence, what are microgreens for the stage you are cutting, and microgreens vs sprouts for how this crop differs from sprouts.
Frequently asked questions
When are microgreens ready to harvest?
As soon as you see the first true leaves, or sooner (USU). Purdue says most crops are cut at 2 to 4 inches with true leaves just emerging; pea shoots are cut taller.
How do you harvest microgreens?
Cut the stems just above the growing medium with clean, sharp scissors or a knife and leave the roots behind (Penn State, Purdue).
Do microgreens grow back after cutting?
Treat each tray as a single harvest. Oregon State says microgreens do not regrow after cutting, and UMD suggests sowing the next batch in fresh medium or a 50:50 mix of old and new.
Which tool is best for cutting?
Penn State growers report longer post-harvest life with scissors than with electric clippers or knives.
Sources
- Growing microgreens, Penn State Extension
- Grow microgreens at home, Purdue Extension
- Grow your own microgreens, Utah State University Extension
- Growing microgreens and baby greens indoors, University of Maryland Extension
- Growing microgreens, Clemson Home & Garden Information Center
- Microgreens add big flavor in a small footprint, Oregon State University Extension
- A step-by-step guide for growing microgreens at home, Penn State Extension
- Growing microgreens for the Mississippi gardener, Mississippi State University Extension