
The blackout method is how microgreen seeds germinate: after sowing, the tray is kept covered and dark for a few days, then uncovered and moved into light. Utah State Extension describes it step by step: “For the first part of germination, the tray will be kept in the dark with another tray directly on top.” Penn State Extension recommends keeping seeds in the dark for a few days to help germination and keep a good moisture level. The length depends on the variety, from 1 to 2 days for quick brassicas to 7 to 14 days for cilantro. This guide shows the cover-and-weight steps and the covered days for popular varieties.
The blackout method in 6 steps
- Sow thickly and evenly. Spread seed over the moistened medium. Penn State’s rate is 10 to 15 g on a standard 12 x 20 inch tray.
- Press the seed into contact with the medium. Contact helps the roots push down. Penn State says covering seed with medium is not required, and leaving it uncovered can keep the sprouts clean.
- Place a cover tray on top. Utah State sets a second 1020 tray directly on the sown tray.
- Add a weight. A piece of plywood cut to fit a 1020 tray keeps the seeds in contact with the medium while the roots push down (USU).
- Turn the cover over for the second half. Utah State lifts the top tray and turns it over so it forms a roof without touching the seeds.
- Uncover and move to light. At the end of the covered days, take the cover off and place the tray in a bright window or under grow lights.
Covered days by variety
Utah State publishes covered time for common varieties, with seed rate, soak and days to harvest alongside.
| Variety | Soak | Covered days | Days to harvest |
|---|---|---|---|
| Arugula | None | 1 to 2 | 6 to 8 |
| Radish | None | 1 to 2 | 8 to 12 |
| Kale | None | 1 to 2 | 8 to 12 |
| Broccoli | None | 2 to 4 | 8 to 12 |
| Pea shoots | 6 hours | 3 | 8 to 10 |
| Sunflower | 12 hours | 3 | 9 to 10 |
| Basil | None | 4 to 7 | 12 to 16 |
| Cilantro | Optional (UMD: 6 to 12 hours) | 7 to 14 | 21 to 28 |
Source: Utah State University Extension; UMD for the optional cilantro soak. Use the harvest planner to add the covered days to your sow date and see when to uncover and when to cut.
Other ways to cover
The cover-and-weight method suits trays where you want firm contact between seed and medium, especially large seed such as pea and sunflower, which are also the varieties Utah State and UMD suggest soaking. Other sources describe a lighter cover. UMD says to cover the container with plastic or another container after sowing to trap warmth and humidity, and Clemson uses clear plastic covers or plastic wrap to create a warm, moist, mini-greenhouse environment. Both approaches aim for the same result: warm, damp, dark conditions while the seed germinates.
If you use a clear plastic cover, UMD says to vent it periodically so the extra moisture does not build up, and a gentle fan breeze helps around the dense crop.
Warmth during blackout
Germination loves warmth. UMD says microgreens germinate and grow well at 70 to 75 F, and that cabbage-family seeds (broccoli, radish, kale, arugula) germinate in about 36 hours at 72 F. Utah State holds 74 F during germination. Keep the covered tray at a comfortable room temperature away from drafts (Purdue).
Moisture during blackout
Sow onto a medium that is already damp. Clemson says to moisten potting soil before filling containers, and Utah State pre-moistens coir to the feel of a wrung-out sponge. A covered tray holds this moisture well. If the medium needs water, bottom watering (Penn State, Cornell) or a light spray (Oregon State, Clemson) tops it up without disturbing the seed.
What you see at the end
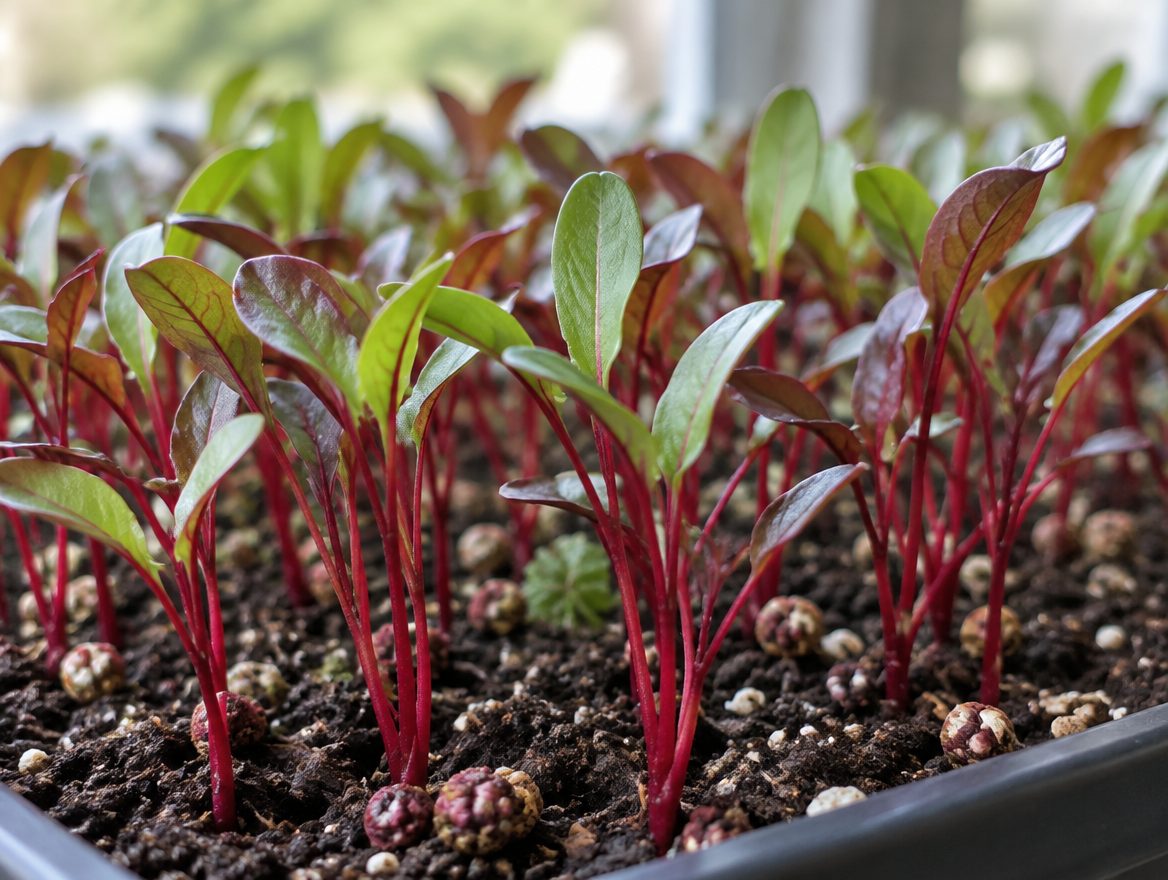
When the cover comes off, the seeds have germinated and the first shoots are up. Move the tray into light right away. Light from a bright window works, and Oregon State says fluorescent lights give the most even growth. Utah State’s schedule is 18 hours on and 6 off; UMD aims for about 16 hours a day. See grow lights for microgreens and microgreens on a windowsill.
After blackout
Water from the bottom, keep the air moving and watch for the first true leaves. Then cut with clean scissors just above the medium (Penn State). The next guides in order are watering microgreens and harvesting microgreens.
Blackout without soil
The method is identical on coir or a mat. Pre-moisten coir (USU) or lay a mat in the tray, sow, cover and weight. Microgreens without soil covers the details, and growing medium for microgreens compares the options.
Checking on a covered tray
You can lift the cover to check progress once the covered days are nearly done. Utah State turns the top tray over for the second half of the dark period so that it forms a covering without touching the seeds, and that is a natural moment to look at the tray. Seeds that have germinated show roots reaching into the medium and the first pale shoots. When the shoots are up, remove the cover and move the tray into light.
Putting it into your schedule
A weekly rhythm for a home grower is to sow a tray, cover it for its covered days, uncover it and move it to light, and sow the next tray a few days later. Oregon State recommends succession planting: start just enough for two people to eat, then plant more every few days. For the complete method from seed to storage, read how to grow microgreens, and for the seed amounts use the seed calculator.
Frequently asked questions
What is the blackout method for microgreens?
Germinating the seed in the dark under a cover. USU stacks a second 1020 tray on the medium with a weight such as plywood so seeds stay in contact with it while roots push down.
How long is the blackout period?
It varies by variety. USU lists 1 to 2 days for radish, kale and arugula, 3 days for pea and sunflower, 2 to 4 days for broccoli and 7 to 14 days for cilantro.
Why add a weight on top?
Weight keeps the seeds in contact with the medium while the roots push down into it (USU).
What do I do when blackout ends?
Take the cover off and move the tray into light, then keep the medium moist with bottom watering or a spray bottle.
Sources
- Grow your own microgreens, Utah State University Extension
- A step-by-step guide for growing microgreens at home, Penn State Extension
- Growing microgreens and baby greens indoors, University of Maryland Extension
- Growing microgreens, Clemson Home & Garden Information Center
- Growing microgreens, Penn State Extension
- Grow microgreens at home, Purdue Extension
- Growing microgreens, Seeds of Wonder lesson 1.5, Cornell Garden-Based Learning
- Microgreens add big flavor in a small footprint, Oregon State University Extension