

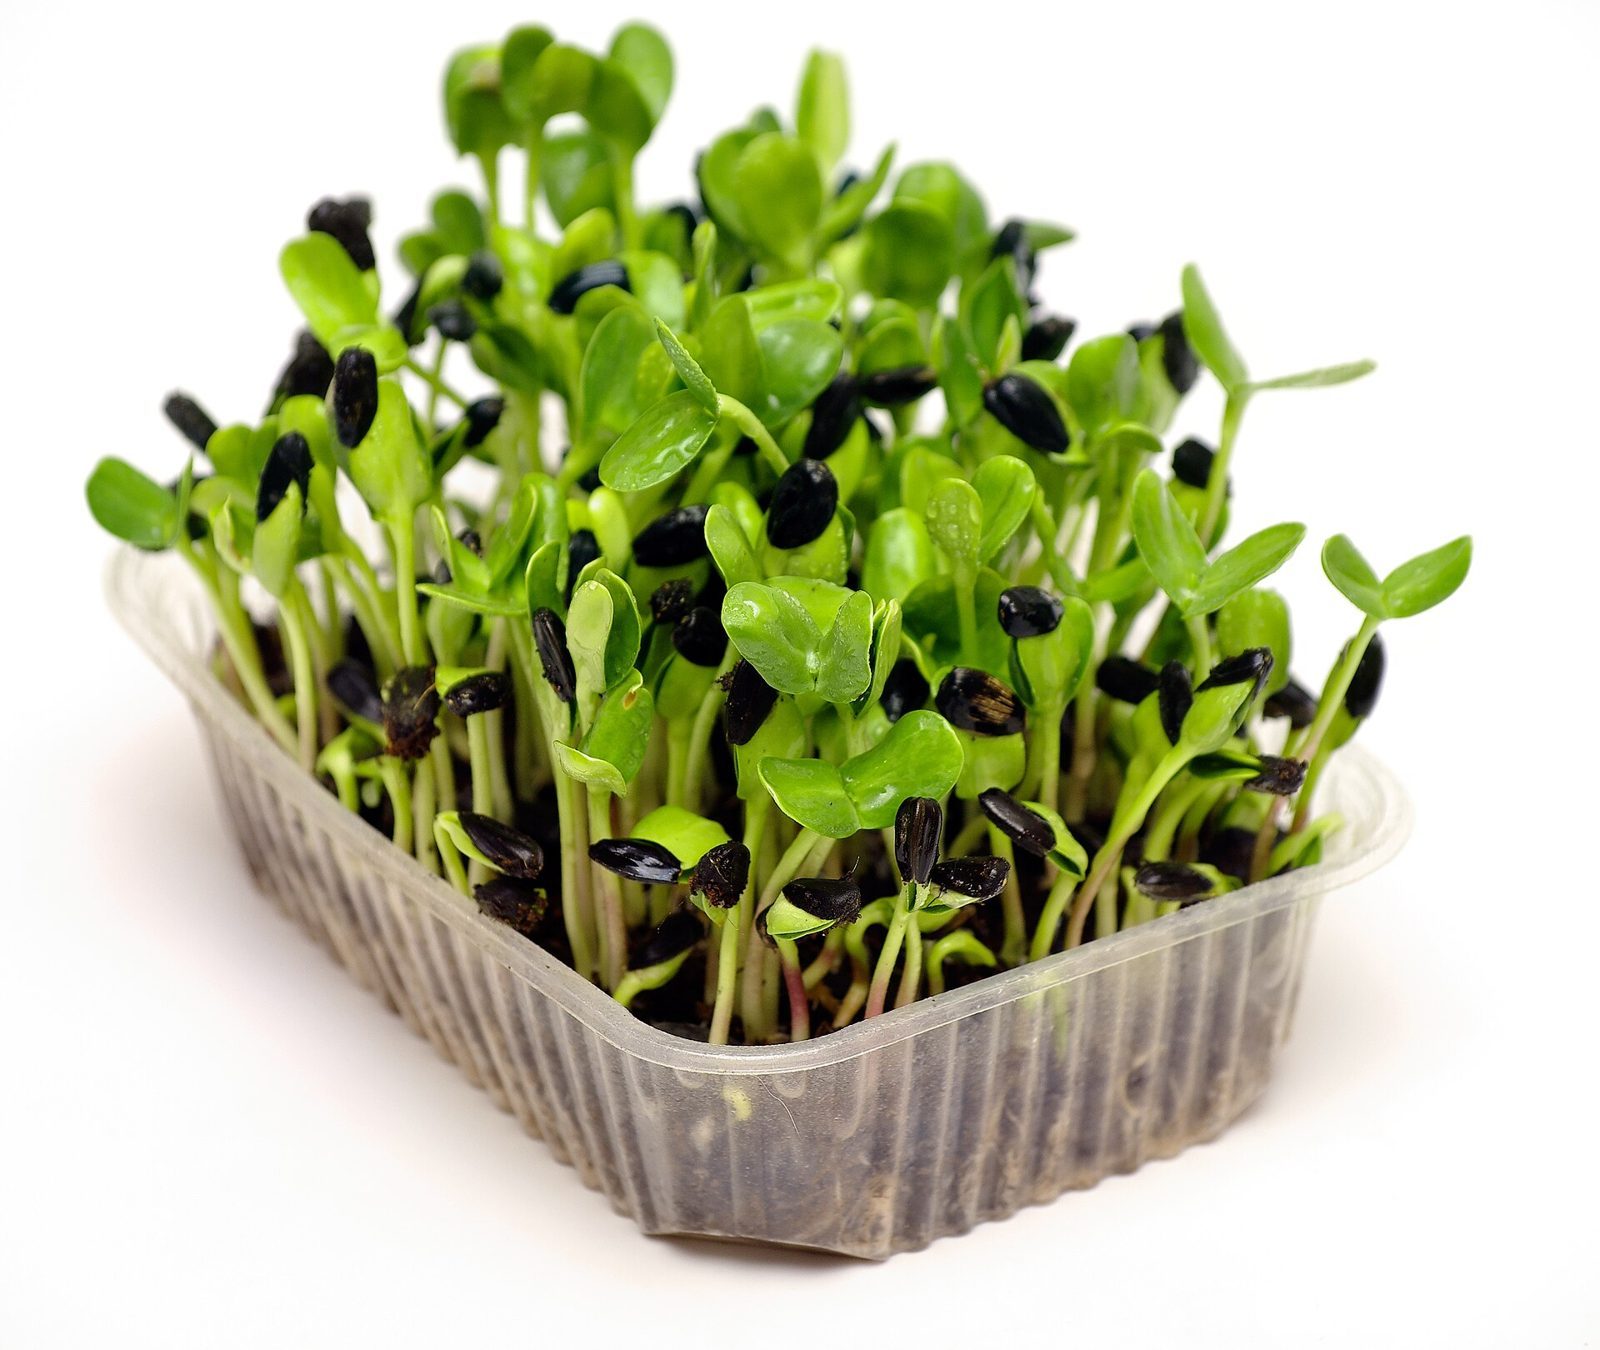
You can grow microgreens on a windowsill with natural light alone: Oregon State Extension says that while fluorescent lights give the most even growth, “a bright window also does the job.” Cornell Garden-Based Learning agrees that microgreens do great in indoor spaces and do not need special light requirements. That makes a sunny sill the simplest first setup: a tray, a medium, seed and a window. This guide covers choosing the window, setting the tray, temperature and how to keep growth even.
Why a windowsill works
Microgreens are a low-light crop. Penn State puts their daily light integral (DLI) below 20 mol/m2/day. They are also cut early, within 7 to 21 days, so the tray only needs light for a short run. A windowsill delivers that, and it keeps the tray in sight, which makes watering easy to remember.
Pick the window
Choose a bright window. A sill that gets plenty of daylight is ideal. If you are unsure, try varieties that tolerate less-than-ideal light: UMD notes that arugula and mustard do. Radish, broccoli, kale and sunflower are other popular picks, all cut in about 8 to 12 days according to Utah State.
Check the sill for room. A standard 10 x 20 inch tray is a common size, but Utah State and Penn State both describe smaller shallow containers, pie tins and takeout trays, so a narrow sill can hold a smaller tray. Punch drainage holes if the container has none (Oregon State).
Set the temperature
Temperature sources give a friendly range, and a sill in a heated room usually falls inside it.
- UMD: microgreens germinate and grow well at 70 to 75 F.
- Utah State: 74 F for germination, 72 F with the lights on and 68 F with the lights off.
- Penn State: 60 to 75 F for soil and 60 to 70 F for air.
- Purdue: 68 to 72 F, away from HVAC vents and the temperature swings near windows.
A good habit is to place the tray on the sill during the day and keep it clear of heating or cooling vents. The ranges overlap at about 68 to 72 F, so aim for that and the tray will be comfortable under every set of guidance.
Start with the blackout
Sow and cover the tray first. During the blackout the tray does not need the window at all. Utah State stacks a second tray on top with a weight; Clemson and UMD use a clear cover to hold warmth and moisture. After a few days, uncover and move the tray to the sill. The blackout method shows covered days by variety, from 1 to 2 for radish, kale and arugula to 3 for pea and sunflower.
Water from the bottom
Windowsill trays dry out at their own pace, so check the medium. Penn State and Cornell recommend bottom watering: set the tray in shallow water until the medium is wet, then remove it and let it drain. Oregon State and Clemson use a spray bottle. Either way, add water only when needed and allow drainage (PSU). Open the window now and then for air (PSU) or use a gentle fan breeze (UMD). More in watering microgreens.
Day-by-day on the sill
| Stage | What the tray needs |
|---|---|
| Sowing day | Moist medium, seed spread thickly, cover on |
| Blackout (1 to 4 days for most) | Dark and covered |
| Uncover | Bright window, bottom water as needed |
| First true leaves | Cut with clean scissors |
Arugula is ready in 6 to 8 days, radish and kale in 8 to 12, and cilantro takes 21 to 28 (USU), so you can match the variety to how long you want a tray on the sill. The harvest planner turns the sow date into a harvest date, and the fastest microgreens collection lists the quickest ones.
Picking varieties for the sill
Flavor is a good guide. Utah State describes sweet pea for pea shoots, nutty and sweet for sunflower, nutty and spicy for radish, mild broccoli for broccoli, peppery for arugula and intense basil for basil. A sill with room for two small trays can hold a quick brassica and a larger-seeded pea or sunflower tray, staggered by a few days so one is always coming along (Oregon State’s succession planting).
When to add a grow light
A bright window carries a tray through much of the year. UMD and Oregon State both note that grow lights or a bright window let production continue indoors year-round, so lights are a convenient add-on for darker months or a window that faces away from the sun. When you want to try them, the grow lights guide covers the 16 to 18 hour schedules.
Quantities for a sill tray
Penn State’s tray rate is 10 to 15 g of seed per standard 12 x 20 inch 10-row tray, with lower rates in summer than in winter and for larger seed than smaller. A smaller container takes proportionally less seed, and the seed calculator does the arithmetic.
From sill to table
Cut when the first true leaves show, or at 2 to 4 inches tall (Utah State, Purdue). Use clean scissors just above the medium. Cut what you need, and keep the rest in a clean plastic bag in the fridge (Clemson). See harvesting microgreens and storing microgreens. For the complete method beyond the sill, read how to grow microgreens or the supplies list in growing microgreens at home.
Frequently asked questions
Can I grow microgreens on a windowsill without lights?
Yes. Oregon State says fluorescent lights give the most even growth but a bright window also does the job, and Cornell says microgreens do not need special light.
What temperature suits a windowsill tray?
UMD gives 70 to 75 F for germination and growth, USU gives 68 to 74 F across the day, and Purdue suggests 68 to 72 F. Penn State lists soil at 60 to 75 F.
Which varieties are good for lower light?
UMD notes that arugula and mustard tolerate less-than-ideal light, so they make a relaxed first tray.
When should I add a grow light?
When you want production to continue through the shorter days of the year. UMD and Oregon State both describe grow lights or a bright window for year-round growing.
Sources
- Microgreens add big flavor in a small footprint, Oregon State University Extension
- Growing microgreens, Seeds of Wonder lesson 1.5, Cornell Garden-Based Learning
- Growing microgreens and baby greens indoors, University of Maryland Extension
- Grow microgreens at home, Purdue Extension
- Grow your own microgreens, Utah State University Extension
- Growing microgreens, Penn State Extension
- A step-by-step guide for growing microgreens at home, Penn State Extension