
Microgreens and sprouts are two different crops: sprouts are germinated in water and eaten whole, while microgreens are grown in a medium such as soil and only the above-ground shoots are cut and eaten. Penn State Extension makes the distinction clearly, and Clemson says the same: microgreens “are grown in soil and only the above ground plant parts are consumed.” Both are quick, both are small, and both can come from the same seeds, so the names get mixed up. This guide compares them point by point so you can see what each one involves and where microgreens fit in a home garden.
Microgreens vs sprouts at a glance
| Microgreens | Sprouts | |
|---|---|---|
| How they are grown | In a medium such as soil, coir or a mat (USU, PSU) | Germinated from seeds soaked in water, often in the dark (PSU) |
| What you eat | Single shoots with seed leaves and/or first true leaves, cut above the medium (PSU) | The whole sprout, including the seedling, radicles and often the remains of the seed (PSU) |
| Roots | Stay behind in the tray when you cut (PSU) | Eaten with the sprout |
| Light | Moved into light after a short dark stage (USU, PSU) | Often germinated in the dark (PSU) |
| Stage | Harvested as true leaves begin to form, 1 to 3 inches tall, in 7 to 21 days (Clemson, PSU) | The germinated seed, eaten whole (PSU) |
The key difference is the stage and the medium. A microgreen is a seedling that has had time to open its leaves in the light. A sprout is a germinated seed eaten very early.
Why growers choose microgreens
Microgreens give you something sprouts do not: a tray of leafy shoots with color and shape, ready to cut in one or two weeks. A few reasons home growers like them:
- Variety of flavor and color. Utah State lists sweet pea for pea shoots, nutty and sweet for sunflower, peppery for arugula and intense basil for basil. Red cabbage and purple radish add color.
- A tidy harvest. You cut the shoots with scissors just above the medium and leave the roots behind (PSU).
- Cleaner cuts on mats. Penn State notes that harvested microgreens are cleaner from seeding mats than from potting soil.
- A counter-sized crop. One tray on a bright windowsill produces a full harvest.
- A cycle you can plan. Seeds, cover days and harvest days are known for each variety, so you can plan with the harvest planner.
Two methods, one starting point
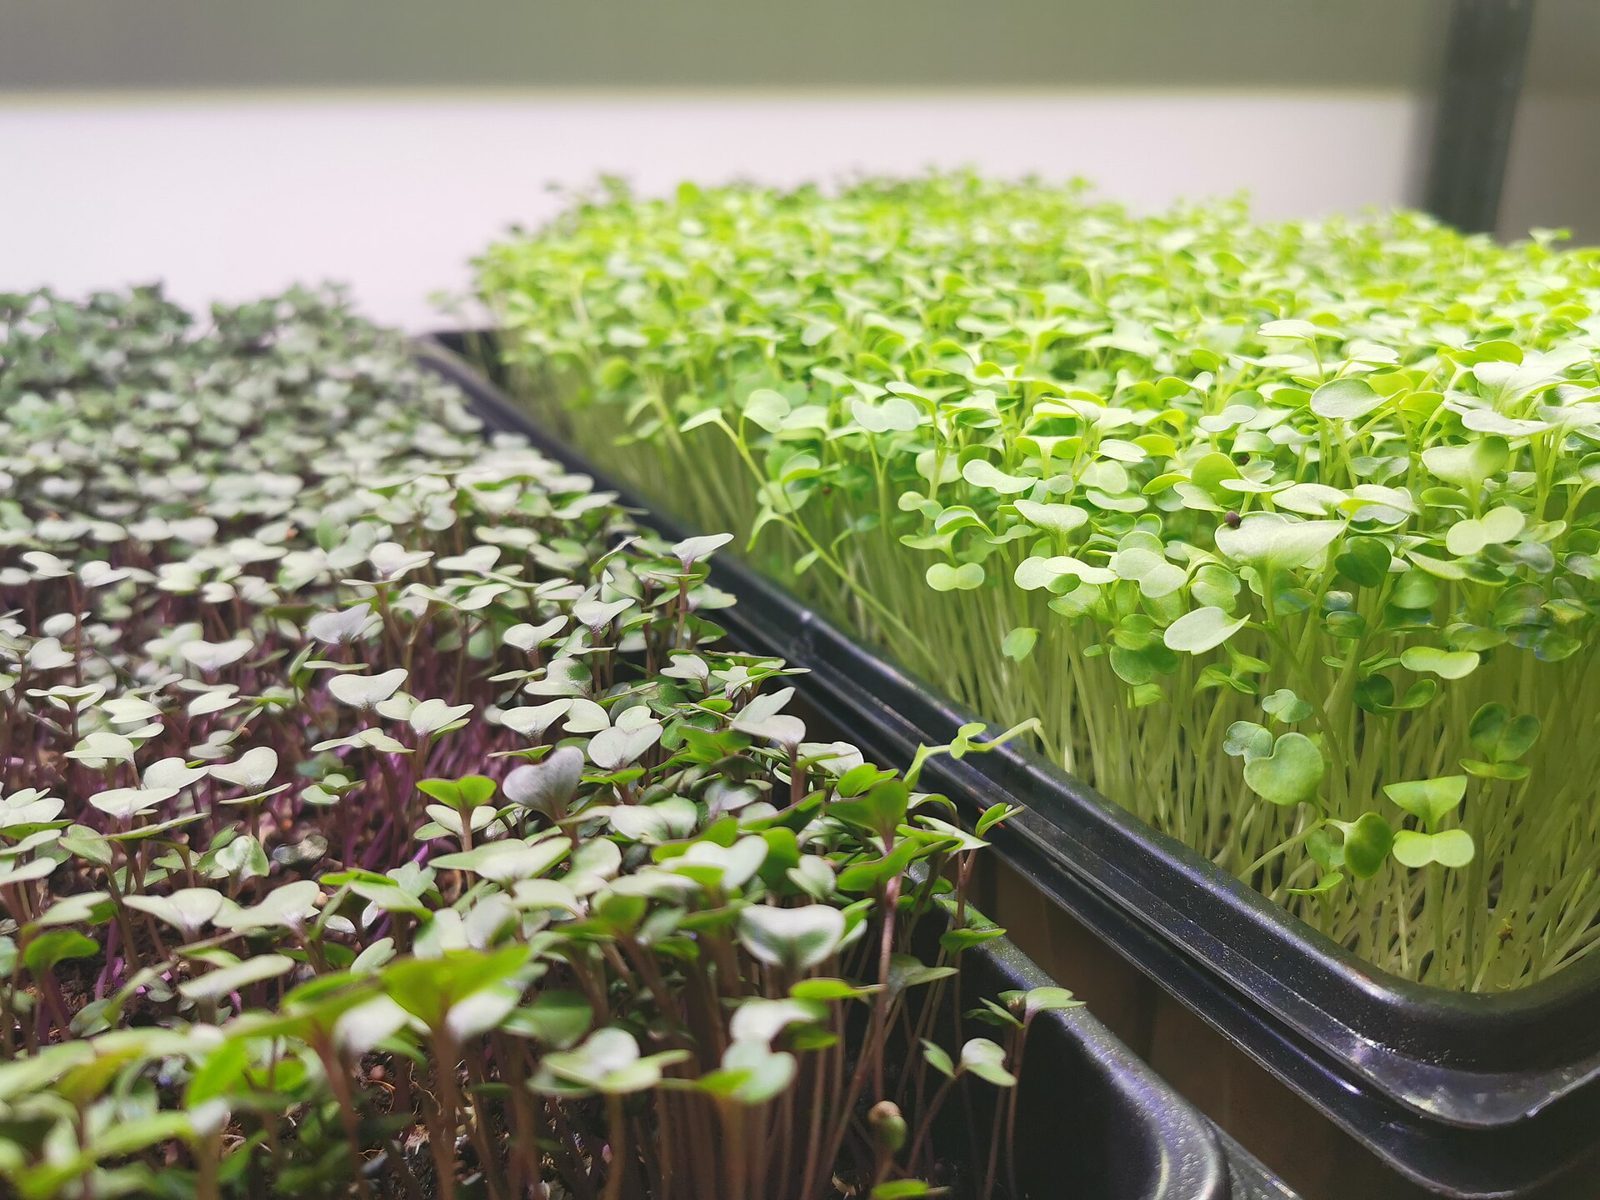
Both begin with seed. What changes is the method. For microgreens, you sow the seed on a medium in a shallow tray, keep it dark and covered for a few days, then uncover it and give it light and water. A tray of microgreens spends most of its time as a seedling with leaves reaching up toward light.
Penn State recommends choosing seed labeled for microgreens or marked untreated, because for some species the seed coat stays on the seedling and can be eaten. That is a good reason to buy seed sold for this purpose, and to keep seed in a dry, sealed, dated container until you sow it.
How microgreens grow, in short
- Tray and medium. A shallow tray with drainage holes and a lightweight medium: seed-starting mix, pre-moistened coconut coir or a grow mat (USU).
- Sow thickly. Penn State uses 10 to 15 g of seed on a standard 10-row tray; the seed calculator scales the amount to your tray.
- Blackout. Keep the tray covered and dark for the first days. The blackout method explains the cover and weight.
- Light. Place the tray in a bright window or under grow lights (windowsill guide, grow lights).
- Water from the bottom. See watering microgreens.
- Cut. At the first true leaves, or 2 to 4 inches, with clean scissors (harvesting microgreens).
Words you will see
A few terms help when reading about either crop. A cotyledon is a seed leaf, the first leaf or pair of leaves that appears. True leaves are the leaves that form after the seed leaves, and microgreens are cut as these begin to appear (Clemson, USU). The radicle is the first root, and Penn State notes that a whole sprout includes the seedling, the radicles and often what remains of the seed. In a microgreen harvest, the roots are left behind in the tray and only the shoot comes to the kitchen.
Choosing between them
If you enjoy the idea of growing something that reaches the leaf stage, with a range of flavors and a harvest on a tray, microgreens are the match. They suit anyone with a counter, a sill and a week or two. Because each variety has its own timing, a handful of trays with different harvest dates keep a steady supply: Oregon State suggests starting just enough for two people to eat and planting more every few days.
Where to go next
Start with what are microgreens if you would like the definition and the stage in more detail, or go straight to how to grow microgreens for the full step-by-step method. Growing microgreens at home lists the supplies for a first tray, and storing microgreens shows how to keep a cut harvest fresh for up to 10 to 14 days in the fridge.
Frequently asked questions
Are microgreens the same as sprouts?
No. Sprouts are germinated in water, often in the dark, and the whole sprout is eaten. Microgreens are grown in a medium such as soil, and only the above-ground shoots are cut and eaten (PSU, Clemson).
Do microgreens need soil?
They are grown in a medium. Seed-starting mix, coconut coir and hydroponic grow mats are all used (USU, PSU), and the cut shoots leave the roots behind.
Which is faster, microgreens or sprouts?
Microgreens go from seeding to harvest in 7 to 21 days (PSU, Cornell), and the tray gives you a fresh cut each time.
What part of each do you eat?
With sprouts, the whole sprout, including the radicle and often the seed remains. With microgreens, only the above-ground shoot (PSU, Clemson).
Sources
- The ABCs of microgreens, Penn State Extension
- Growing microgreens, Clemson Home & Garden Information Center
- Growing microgreens, Penn State Extension
- Growing microgreens and baby greens indoors, University of Maryland Extension
- A step-by-step guide for growing microgreens at home, Penn State Extension